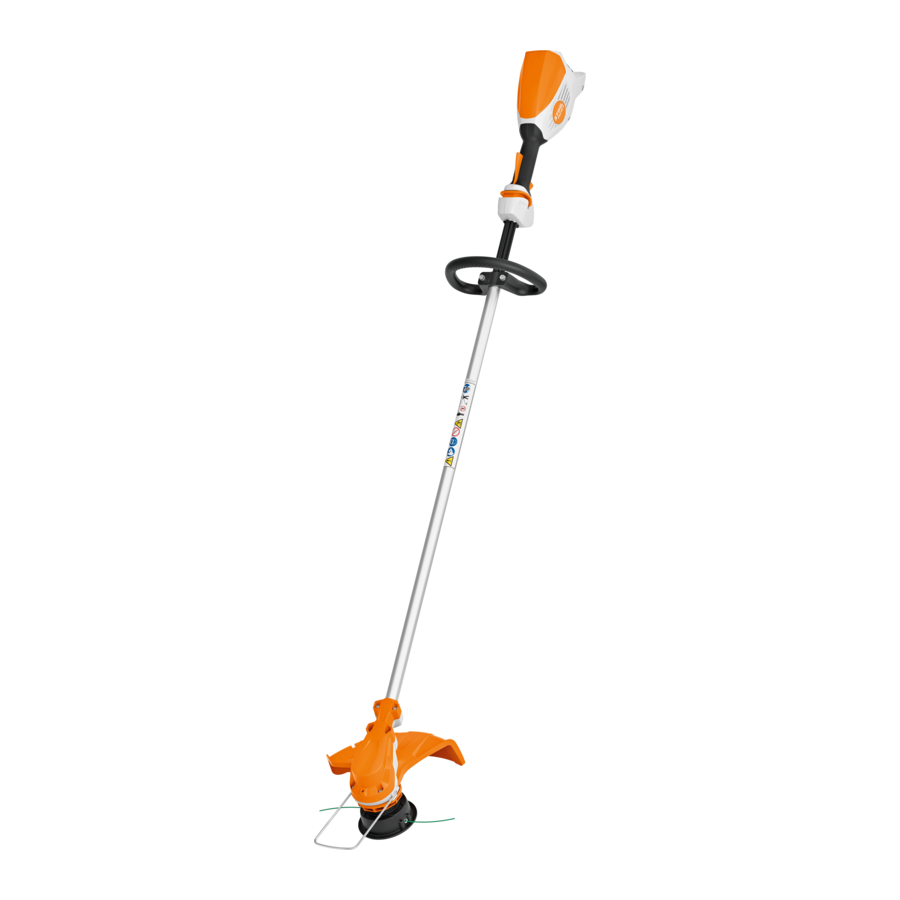
So, you've got yourself an STIHL FSA 60 R, and now you're wondering how to replace its head? Well, my friend, you're in the right place. Whether you're a seasoned gardener or just starting out, knowing how to replace the head of your STIHL FSA 60 R can save you time, money, and a whole lot of frustration. This guide will walk you through everything you need to know about this process, step by step, and trust me, it's easier than you think.
Replacing the head on your STIHL FSA 60 R isn't just about fixing something that's broken; it's about maintaining the performance of your tool. If you've been using this trimmer for a while, chances are the head has seen better days. Worn-out heads can lead to uneven cuts, reduced efficiency, and even damage to your lawn or garden. That's why it's crucial to learn how to replace it properly.
Now, if you're like most people, you might be intimidated by the idea of doing this yourself. But don't worry, I've got you covered. In this article, we'll dive deep into the world of STIHL FSA 60 R head replacement, covering everything from the tools you'll need to the exact steps you should follow. By the end of this, you'll feel like a pro!
Table of Contents
- Introduction to STIHL FSA 60 R Head Replacement
- Tools You'll Need for the Job
- Choosing the Right Replacement Head
- How to Remove the Old Head
- Installing the New Head
- Common Issues and Troubleshooting
- Maintenance Tips for Longevity
- Cost Analysis of Replacement Heads
- User Reviews and Feedback
- Conclusion: Keep Your STIHL FSA 60 R in Top Shape
Introduction to STIHL FSA 60 R Head Replacement
Alright, let's get one thing straight: the STIHL FSA 60 R is a beast when it comes to trimming and cutting. But even the best tools need a little TLC from time to time. Replacing the head of your STIHL FSA 60 R is one of those maintenance tasks that can make a huge difference in how well your tool performs. Whether you're dealing with a worn-out head or simply want to upgrade, knowing how to do this yourself is a game-changer.
Now, before we dive into the nitty-gritty, let's talk about why replacing the head is so important. Over time, the head of your trimmer can become damaged or worn out, leading to poor performance. This can result in uneven cuts, increased fuel consumption, and even damage to your plants. By replacing the head regularly, you ensure that your STIHL FSA 60 R continues to perform at its best.
Tools You'll Need for the Job
Before you start tinkering with your STIHL FSA 60 R, it's important to gather all the tools you'll need. Here's a quick rundown of what you'll require:
- Socket wrench (size depends on your model)
- Screwdriver (Phillips or flathead, depending on your setup)
- New replacement head (make sure it's compatible with your STIHL FSA 60 R)
- Gloves (to protect your hands)
- Towel or rag (for wiping down parts)
Having these tools on hand will make the process smoother and faster. Trust me, you don't want to be halfway through the job and realize you're missing something essential.
Choosing the Right Replacement Head
Picking the right replacement head for your STIHL FSA 60 R is crucial. Not all heads are created equal, and using the wrong one can lead to compatibility issues or decreased performance. Here are a few tips to help you choose the perfect head:
- Check the model number of your STIHL FSA 60 R to ensure compatibility.
- Consider the type of work you'll be doing. If you're dealing with thicker vegetation, you might want a head designed for heavy-duty use.
- Look for reviews and ratings from other users to see what works best for them.
And remember, quality matters. Don't skimp on a cheap replacement head just to save a few bucks. Investing in a good-quality head will pay off in the long run.
How to Remove the Old Head
Removing the old head from your STIHL FSA 60 R might sound intimidating, but it's actually pretty straightforward. Here's a step-by-step guide to help you through the process:
- Turn off your STIHL FSA 60 R and let it cool down. Safety first, folks!
- Locate the head of your trimmer. This is usually at the bottom of the shaft.
- Use your socket wrench to loosen the nut holding the head in place. Be careful not to strip the threads.
- Once the nut is loose, gently remove the old head. If it's stuck, you might need to wiggle it a bit to get it off.
And just like that, the old head is out of the way. Now it's time to move on to the next step.
Installing the New Head
Now that the old head is gone, it's time to install the new one. Follow these steps to ensure a smooth installation:
- Align the new head with the shaft of your STIHL FSA 60 R. Make sure it's properly seated before tightening anything.
- Use your socket wrench to tighten the nut securely. Don't over-tighten, as this can damage the threads.
- Give the head a quick spin to ensure it moves freely. If it feels stuck, double-check your alignment and make any necessary adjustments.
And there you have it! Your STIHL FSA 60 R now has a brand-new head, ready to tackle whatever trimming tasks you throw its way.
Common Issues and Troubleshooting
Even with the best-laid plans, things can sometimes go wrong. Here are a few common issues you might encounter during the head replacement process and how to fix them:
- Head won't fit: Double-check the compatibility of your replacement head. If it's not the right size, it simply won't work.
- Threads are stripped: If you notice stripped threads, you might need to take your STIHL FSA 60 R to a professional for repair.
- Head won't spin: Make sure the head is properly aligned and tightened. If it's still stuck, there might be debris blocking it.
These issues might sound scary, but they're usually easy to fix with a little patience and attention to detail.
Maintenance Tips for Longevity
To keep your STIHL FSA 60 R running smoothly, regular maintenance is key. Here are a few tips to help you get the most out of your tool:
- Inspect the head regularly for signs of wear and tear.
- Clean the tool after each use to prevent buildup of dirt and debris.
- Store your STIHL FSA 60 R in a dry, protected area to prevent rust and corrosion.
By following these tips, you'll ensure that your STIHL FSA 60 R remains in top condition for years to come.
Cost Analysis of Replacement Heads
When it comes to replacing the head on your STIHL FSA 60 R, cost is definitely a factor to consider. Replacement heads can range in price from $20 to $50, depending on the quality and brand. While it might be tempting to go for the cheapest option, remember that quality often equals longevity. Investing in a higher-quality head might cost a bit more upfront, but it will save you money in the long run by lasting longer and performing better.
User Reviews and Feedback
One of the best ways to gauge the quality of a replacement head is to read user reviews. Here's what some satisfied customers have to say:
- "I replaced the head on my STIHL FSA 60 R last month, and it's made a huge difference in performance. Definitely worth the investment!"
- "The installation process was a breeze, and the new head fits perfectly. Highly recommend!"
These reviews show that replacing the head on your STIHL FSA 60 R can have a significant impact on its performance and longevity.
Conclusion: Keep Your STIHL FSA 60 R in Top Shape
Replacing the head on your STIHL FSA 60 R might seem daunting at first, but with the right tools and a bit of know-how, it's a task that anyone can tackle. By following the steps outlined in this guide, you'll ensure that your trimmer continues to perform at its best, giving you the perfect lawn or garden every time.
So, what are you waiting for? Grab your tools, pick up a new head, and get to work. And don't forget to share your experience in the comments below. Your feedback could help other users just like you!